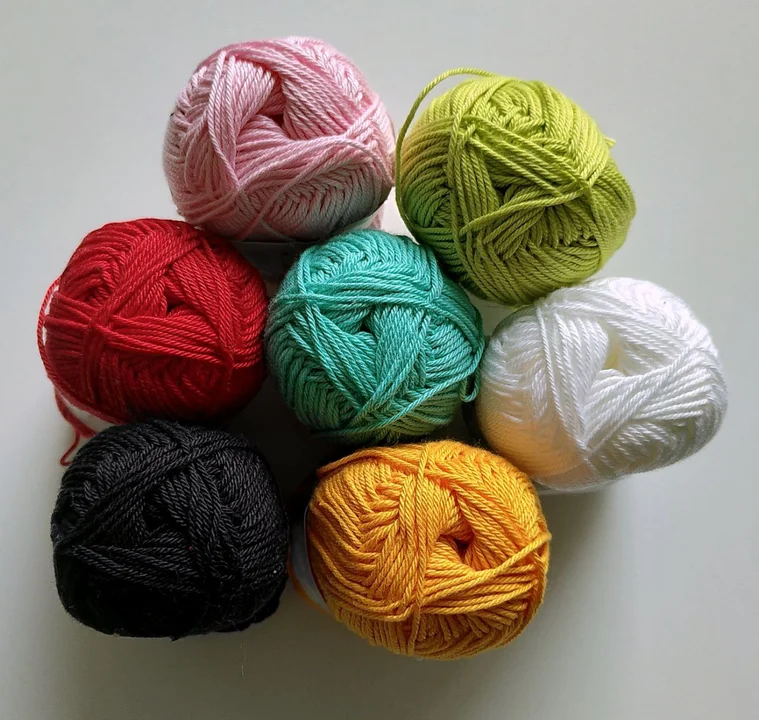
Materials
- Wool bobbins
- Printed pattern
- Wooden slab
- Nails
Preparation
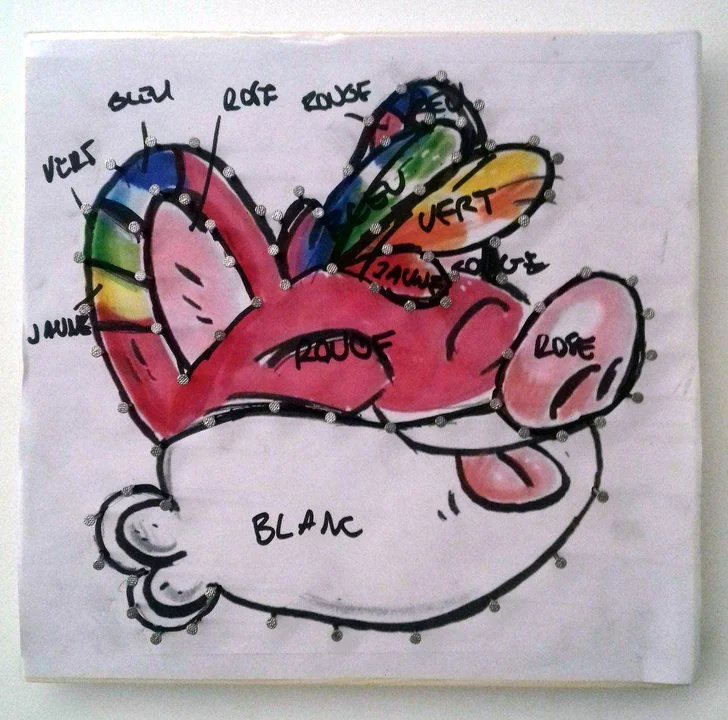
Prepare a simple pattern. I browsed for simple art of my friend’s character, and ended up settling with this piece by Florigami. After some simple cleanup, I ended up with this :

Print out the pattern. Find a wooden slab of ~1.5 cm thickness, cut to pattern size, and sand it down.
Steps
Tape the paper pattern to the slab, and hammer nails into the coloured region boundaries. Be careful to add enough nails, especially in small regions. I modified the pattern slightly, in order to reduce colour complexity and increase the size of small regions.
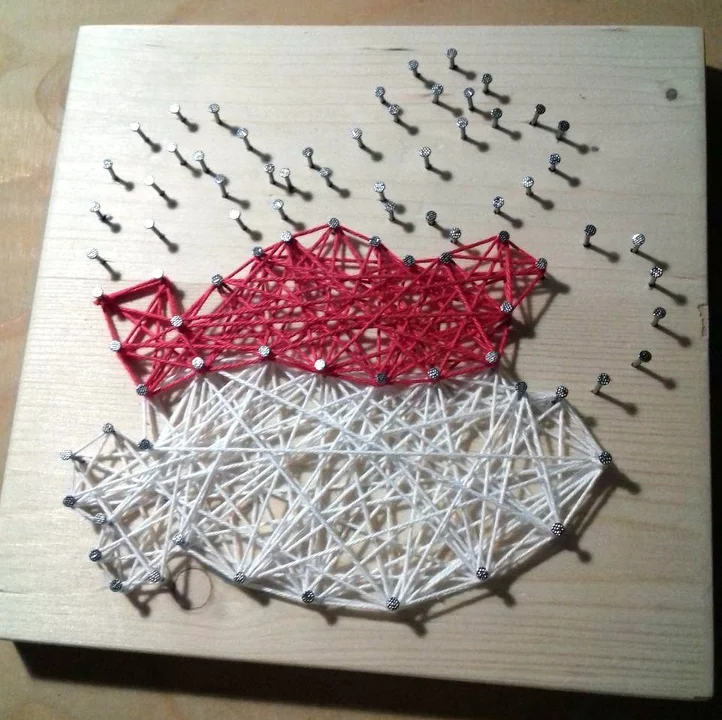
Rip out the paper, and start threading wool around the spikes. Start with the background colour, and progressively work your way towards smaller regions (threads overlap at the boundaries). For instance, here I start with the white cheek fluff, before doing the red region, since the white region is larger.
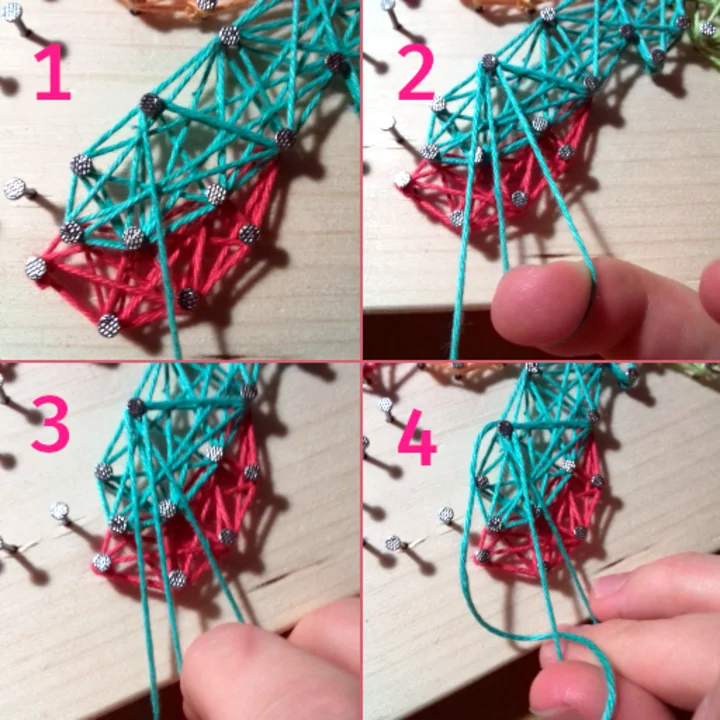
To finish a region, tie a knot around the final nail. I experimented a bit, and found this knot to be easy to make and hold under tension :
Continue like this, and you should end up with something like this !
